Import existing data
Dawarich supports importing data from various sources. You can import data from Google Takeout, OwnTracks, GPX routes, and Dawarich.
Importing process also starts reverse geocoding process for each point imported. This process can take a while, depending on the number of points imported. For more info on reverse geocoding, refer to the Reverse geocoding guide.
One important thing is that Google Takeout might have at least 3 (three) different formats of location history data: Semantic location history, Records.json, and data from a mobile device. Both Semantic location history and Records.json can usually be found in the Google Takeout archive created on the web version of Google Takeout. Data from a mobile device can be found in the Google Takeout archive created on a mobile device and usually the file we're interested in is called location-history.json.
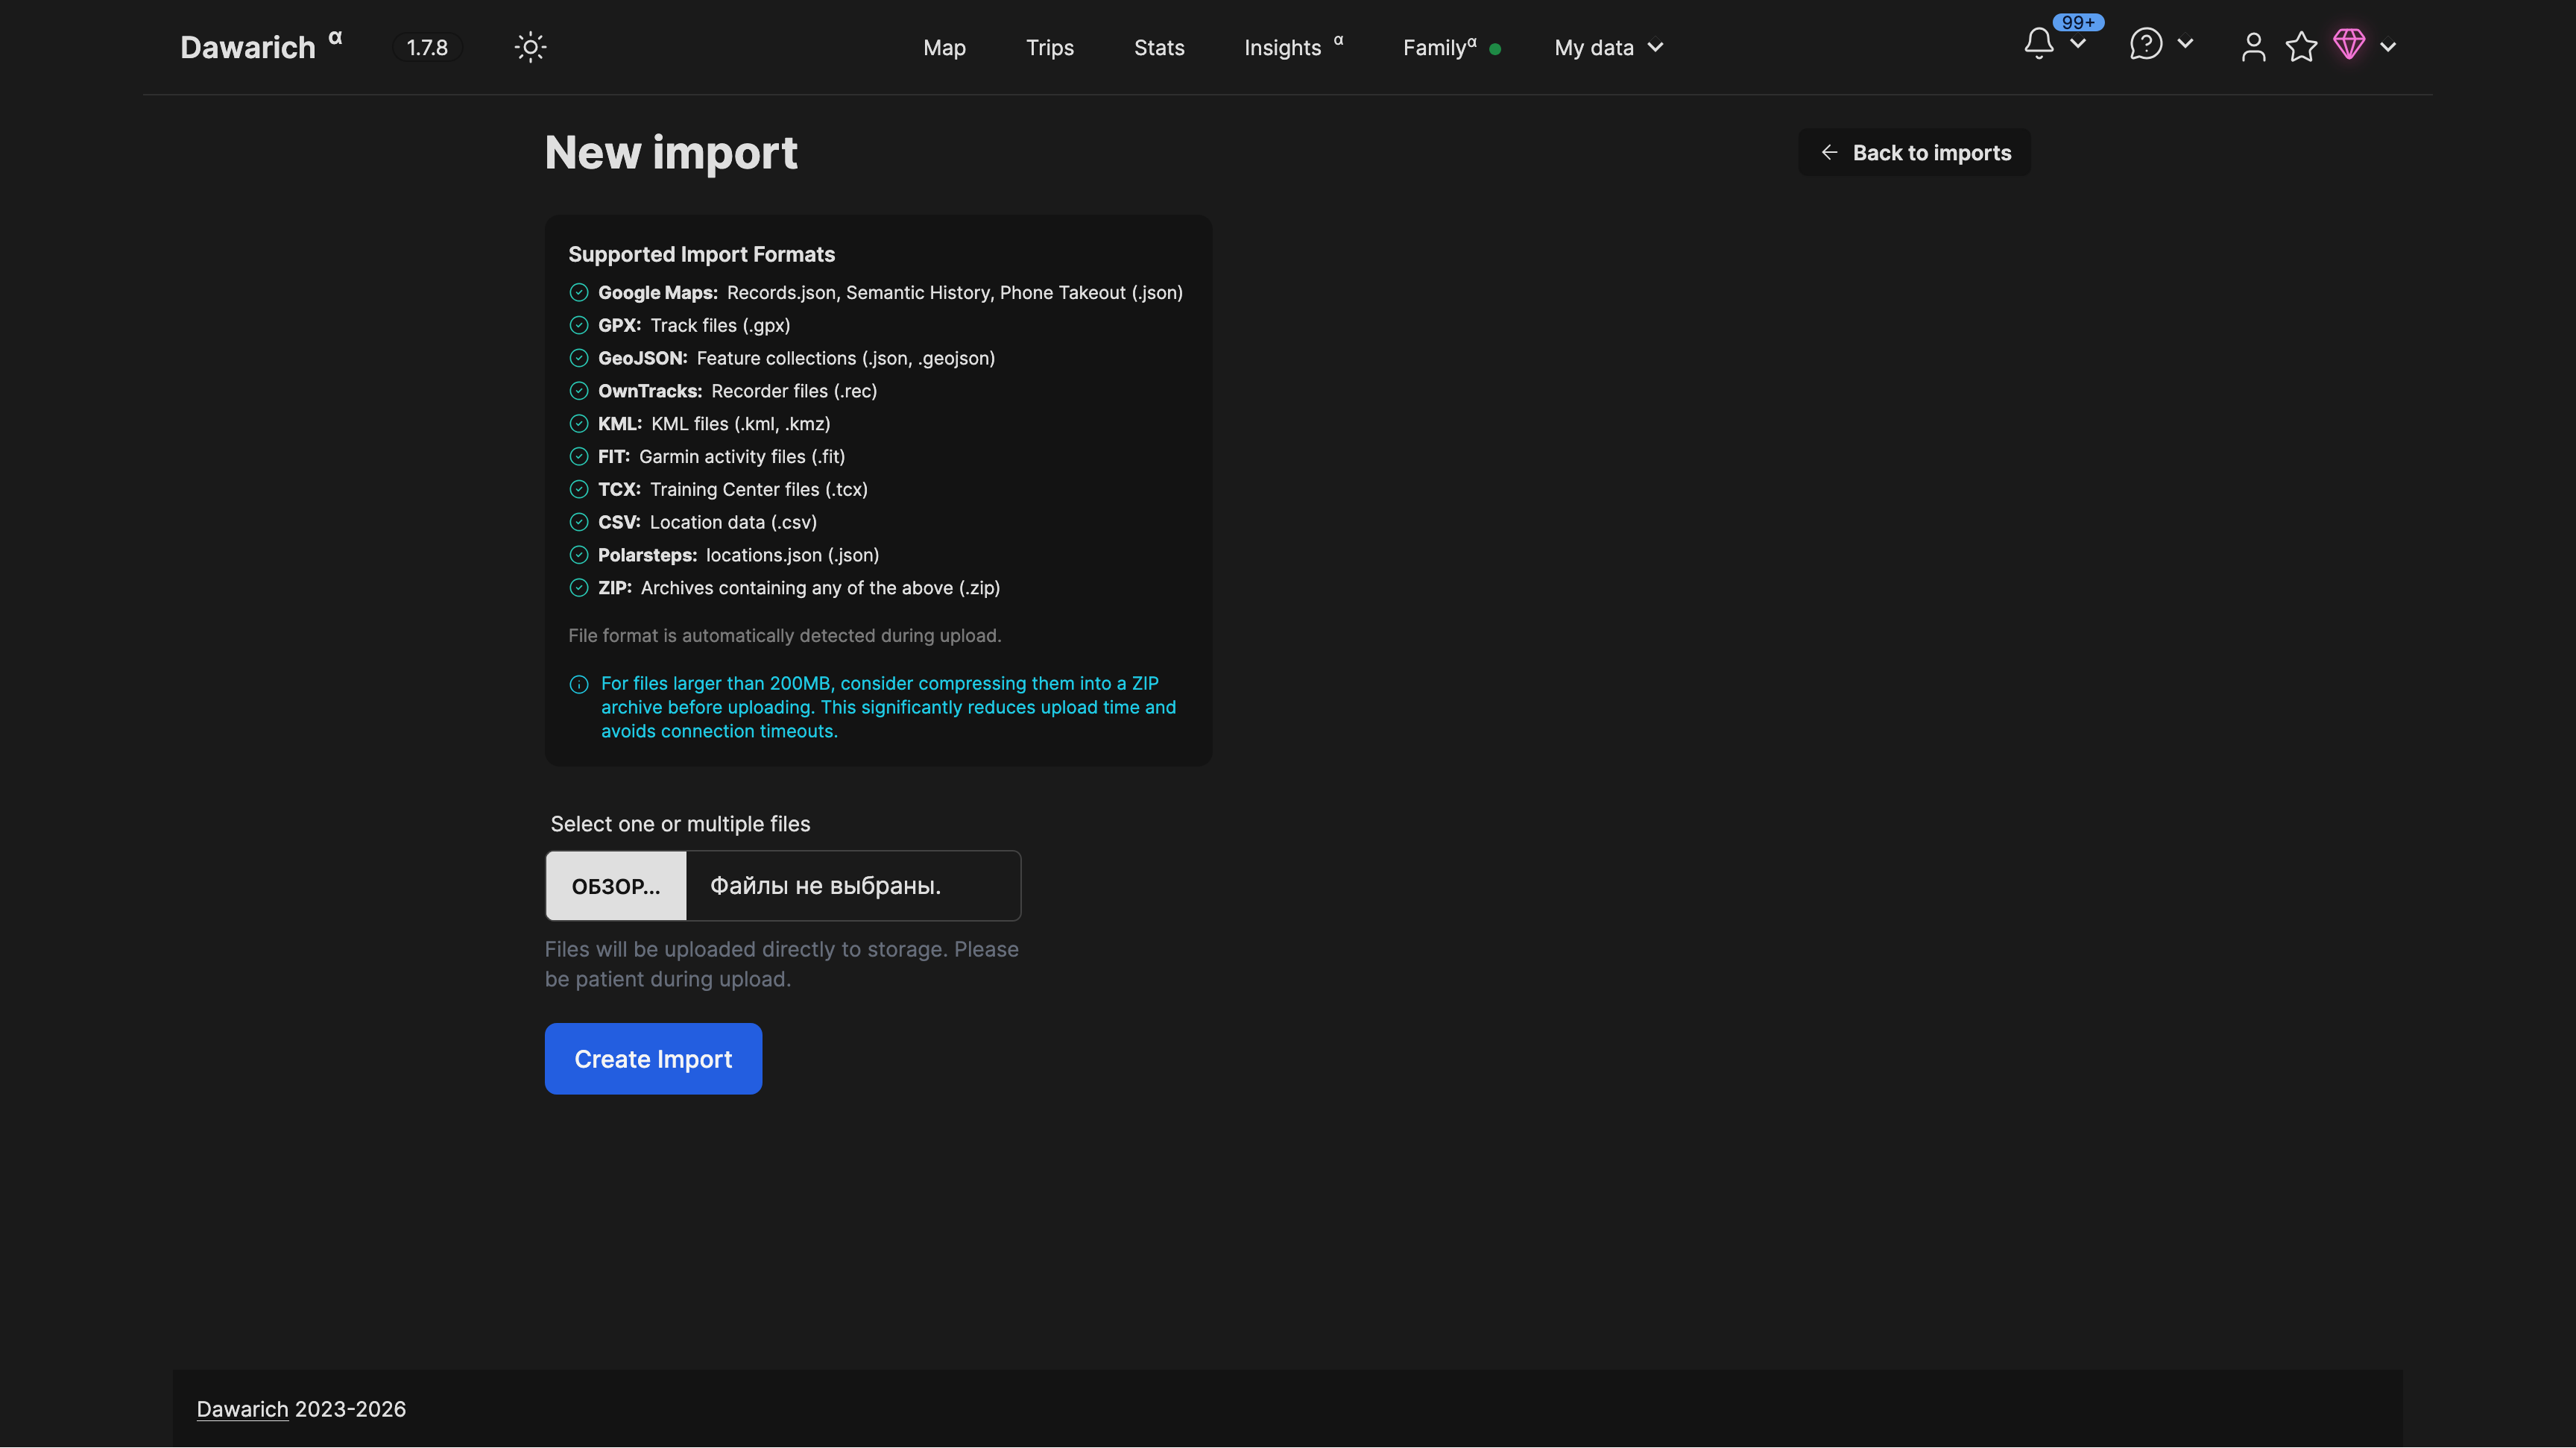
To import your data, visit Imports -> New Import page of your Dawarich instance. There you will have to select the source of your data, then select one or multiple files to upload, and finally click the "Import" button. The import process will start and you will be redirected to the Imports page. The import process will run in the background and you can check the status of the import on the Imports page No status indication is yet implemented.
Sources of data
Google Maps app export
The following steps describe how to export your timeline data after the Timeline update. If this update has not rolled out to you yet, see the Google Takeout (legacy/outdated) section below.
Android
- Open the Settings app (the system settings app of your OS, not the settings within the Maps app)
- Look for the category
Location - Tap
Location services - Tap
Timeline - (if you have multiple) Select the Google account you want to export data from
Note: If you're redirected to the
Activity Controlspage of your Google account settings, the update hasn't rolled out to you yet. - Tap
Export Timeline data - Select a location in your storage. This is where your
Timeline.jsonwill be saved to.
iOS
- Open the Maps app
- Tap your profile picture in the top right
- Tap
Personal content - Tap
Export timeline data
Google Takeout (legacy/outdated)
Important information: After Google's change to how Timeline data is stored, the following method will not work for all users where this update has been rolled out to. When trying to use Takeout, you will only receive a txt file that tells you there is encrypted data present, but no way to decrypt it. See the Google Maps app export section if this applies to you.
Google allows you to download your data from their services using Google Takeout. Extract your Takeout archive, go to the Takeout directory, then to the Location History directory. There you will find the following files: Records.json and Semantic location history directory.
Records.json
This file contains your location history in a JSON format. This is usually a big (hundreds of MBs, up to gigabytes) file with all your location history data. Due to the size of this file, its import must be done in manual steps.
Select Google records as the source of your data and select one or more JSON files to upload. The file is usually named Records.json.
Hit "Create Import" and your data will be imported in the background.
Semantic location history
This directory contains your location history in JSON files split by months in directories named by the year.
Select Google Semantic History as the source of your data and select one or more JSON files to upload. They usually named as 2013_APRIL.json, 2013_MAY.json, etc.
Hit "Create Import" and your data will be imported in the background.
Phone Takeout (location-history.json)
This file contains your location history in a JSON format. This is usually around a 100-200MB file with all your location history data.
Select Google Phone Takeout as the source of your data and select the location-history.json file to upload.
Hit "Create Import" and your data will be imported in the background.
OwnTracks and Dawarich
OwnTracks is a mobile application and also a server application that allows you to visualize your location history. Dawarich can import data from OwnTracks in .rec format.
Select OwnTracks as the source of your data and select the .rec file to upload.
Hit "Create Import" and your data will be imported in the background.
GPX routes
GPX is a common format for storing GPS data. You can import your GPX routes to Dawarich. Important: Dawarich supports only GPX files of recorded routes, not planned ones.
Select GPX as the source of your data and select the GPX file to upload.
Hit "Create Import" and your data will be imported in the background.
Immich
Immich is a self-hosted Self-hosted photo and video management solution. But more importantly, it provides access to photos and videos EXIF data. Dawarich can import location history data from Immich. To import data from Immich, you need to provide a URL to your Immich instance and an API key. Then just click "Import Immich data" button on the Imports page of your Dawarich instance and your data will be imported in the background.
Importing GPS coordinates from photos
This guide was originally written by Andrei Ivnitskii
This process is useful for adding points of interest from memorable locations into Dawarich, especially when Google Location History is unavailable or was not initially enabled.
Requirements:
- Mac OS operating system
- exiftool software installed
- exiftool template created
Steps to Import GPS Coordinates into Dawarich:
- Download and install exiftool from the official website.
- Create an empty template text file, name it as
gpx.fmtand paste the code provided below into it.
#------------------------------------------------------------------------------
# File:         gpx.fmt
#
# Description:  Example ExifTool print format file to generate a GPX track log
#
# Usage:        exiftool -p gpx.fmt -ee3 FILE [...] > out.gpx
#
# Requires:     ExifTool version 10.49 or later
#
# Revisions:    2010/02/05 - P. Harvey created
#               2018/01/04 - PH Added IF to be sure position exists
#               2018/01/06 - PH Use DateFmt function instead of -d option
#               2019/10/24 - PH Preserve sub-seconds in GPSDateTime value
#
# Notes:     1) Input file(s) must contain GPSLatitude and GPSLongitude.
#            2) The -ee3 option is to extract the full track from video files.
#            3) The -fileOrder option may be used to control the order of the
#               generated track points when processing multiple files.
#------------------------------------------------------------------------------
#[HEAD]<?xml version="1.0" encoding="utf-8"?>
#[HEAD]<gpx version="1.0"
#[HEAD] creator="ExifTool $ExifToolVersion"
#[HEAD] xmlns:xsi="http://www.w3.org/2001/XMLSchema-instance"
#[HEAD] xmlns="http://www.topografix.com/GPX/1/0"
#[HEAD] xsi:schemaLocation="http://www.topografix.com/GPX/1/0 http://www.topografix.com/GPX/1/0/gpx.xsd">
#[HEAD]<trk>
#[HEAD]<number>1</number>
#[HEAD]<trkseg>
#[IF]  $gpslatitude $gpslongitude
#[BODY]<trkpt lat="$gpslatitude#" lon="$gpslongitude#">
#[BODY]  <ele>$gpsaltitude#</ele>
#[BODY]  <time>${gpsdatetime#;my ($ss)=/\.\d+/g;DateFmt("%Y-%m-%dT%H:%M:%SZ");s/Z/${ss}Z/ if $ss}</time>
#[BODY]</trkpt>
#[TAIL]</trkseg>
#[TAIL]</trk>
#[TAIL]</gpx>
- Create a separate directory for the photos from which you want to extract coordinates.
- Move the necessary photos and
gpx.fmttemplate to this directory. - Open Terminal and navigate to the directory containing the photos.
Command to Execute:
exiftool -if '$gpsdatetime' -fileOrder gpsdatetime -p ./gpx.fmt -d %Y-%m-%dT%H:%M:%SZ *JPG > output.gpx
Note: Ensure that exiftool is properly installed on your system, and the file 'gpx.fmt' is located in the same directory as the photos.
- GPX-track based on photo's GPS-coordinates and dates will be placed as
output.gpxfile into the same directory. - Go to Dawarich webpage, select Imports, click "New Import" button, select source — gpx and choose
output.gpxfile. - After the import processed all GPX-points will be added to Dawarich map.